
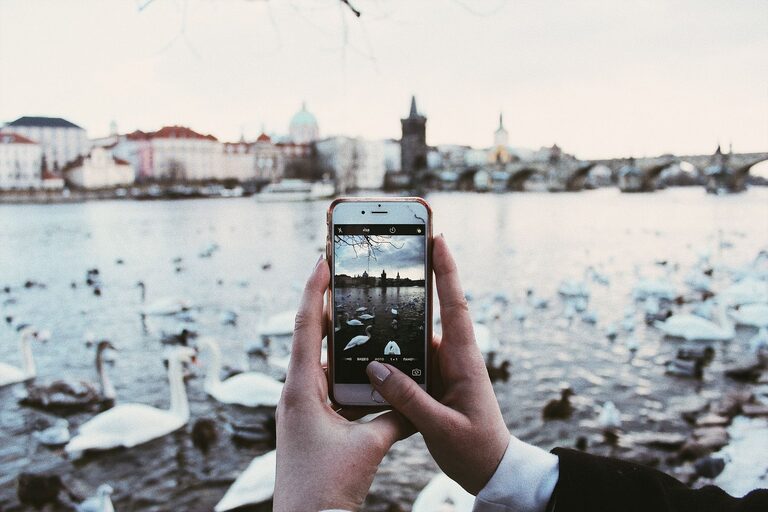
Taking photos with your phone is something most of us do every day. Whether you’re capturing a sunset, a family moment, or something interesting around you, improving your phone photography can make a big difference. You don’t need expensive gear or formal training—just a few easy tips to help you get better shots. Here’s a beginner-friendly guide to taking better photos with your phone.
Understand Your Phone Camera
Explore Camera Settings
Most smartphones come with a variety of camera modes and settings. Spend some time exploring these features. You might find options like:
– HDR (High Dynamic Range): Helps balance bright and dark areas.
– Grid Lines: Helps with composition using the rule of thirds.
– Flash: Use sparingly; natural light usually looks better.
Knowing what your camera can do is the first step to taking better photos.
Keep Your Lens Clean
It sounds simple, but a smudged or dirty lens can make your photos blurry or hazy. Wipe the lens gently with a soft cloth before taking pictures.
Composition Basics
Use the Rule of Thirds
Turn on grid lines in your camera settings. Imagine your photo divided into nine equal parts by two horizontal and two vertical lines. Place important elements along these lines or where they intersect to create a balanced and interesting photo.
Focus on a Clear Subject
Decide what the main focus of your photo is. Make sure this subject is sharp and well-lit. Avoid cluttered backgrounds that can distract from your subject.
Experiment with Angles and Perspectives
Instead of shooting everything from eye level, try different angles. Get low to the ground, shoot from above, or tilt your phone slightly. Changing your perspective makes photos more dynamic and unique.
Lighting Tips
Use Natural Light Whenever Possible
Natural light usually produces the best results. Try to take photos during the “golden hour” (shortly after sunrise or before sunset) for soft, warm light.
Avoid Harsh Midday Sun
Bright midday sun can create harsh shadows and cause your photo to look overexposed. If you must shoot in bright conditions, look for shaded areas or use your phone’s HDR mode.
Understand Backlighting
Backlighting is when the light source is behind your subject. This can create beautiful silhouettes or glowing effects if done carefully. Try tapping on your screen to adjust focus and exposure when shooting against the light.
Steady Your Shot
Keep Your Hands Steady
Shaky hands can make your photos blurry. Hold your phone with both hands, tuck your elbows close to your body, or rest against a steady surface for support.
Use a Tripod or Stabilizer
If you want even more stability, consider buying an inexpensive phone tripod or stabilizer, especially useful for low light or long exposure shots.
Use Your Phone’s Features Creatively
Try Different Modes
Your phone might have modes like portrait, panorama, or night mode. Experiment with these to find different effects and styles.
Use Burst Mode for Action Shots
When capturing movement, use burst mode to take several photos quickly. This increases your chances of getting a sharp, well-timed shot.
Edit Your Photos
Use Simple Editing Apps
Basic editing can really improve your photos. Try adjusting brightness, contrast, cropping, and saturation. Apps like Snapseed or Lightroom Mobile offer easy-to-use tools.
Avoid Over-Editing
Editing should enhance the photo, not make it look unrealistic. Keep changes natural and subtle.
Practice and Patience
Take Photos Regularly
The more you practice, the better you’ll get. Take your phone with you and try shooting in different environments and lighting.
Review and Learn
Look at your photos and ask what you like and what could be better. Learning from your own shots helps you improve faster.
Final Thoughts
Great photos are about creativity, practice, and understanding your tools. Your phone is powerful enough to capture amazing images; you just need to know how to make the most of it. Try these beginner tips one at a time and enjoy the process of taking better photos with your phone.
Happy shooting!